MAMPを使ったWordpressでのWEB制作方法11 初心者向け
今回は詳細ページの作成です。
前回の記事はこちら
MAMPを使ったWordpressでのWEB制作方法11 初心者向け
詳細ページの作成
詳細ページもレイアウトは統一されているのでまずは
ヘッダー、フッター、サイドバーと表示部分が空になった
フレームだけを用意します。
single.php
<?phpget_header();?><divclass="wrapper"><divid="conL"></div><!--conLend--><?phpget_sidebar();?></div><!--wrapperend--><?phpget_footer();前回の投稿一覧ページ同様以下のif文を作成して
タイトルと中身を取得できるようにタグを設置します。
single.php
<?phpget_header();?><divclass="wrapper"><divid="conL"> <!--loopstart--> <?phpif(have_posts()):while(have_posts()):the_post();?> <h2><?phpthe_title();?></h2> <!--loopcontent--> <?phpthe_content();?> <!--loopend--> <?phpendwhile;endif;?> <aclass="btn"href="<?phpechohome_url();?>/contact"><buttonclass="btn1">お問い合わせ</button></a></div><!--conLend--><?phpget_sidebar();?></div><!--wrapperend--><?phpget_footer();一覧ページから詳細ページを開くと投稿の中身が表示されます。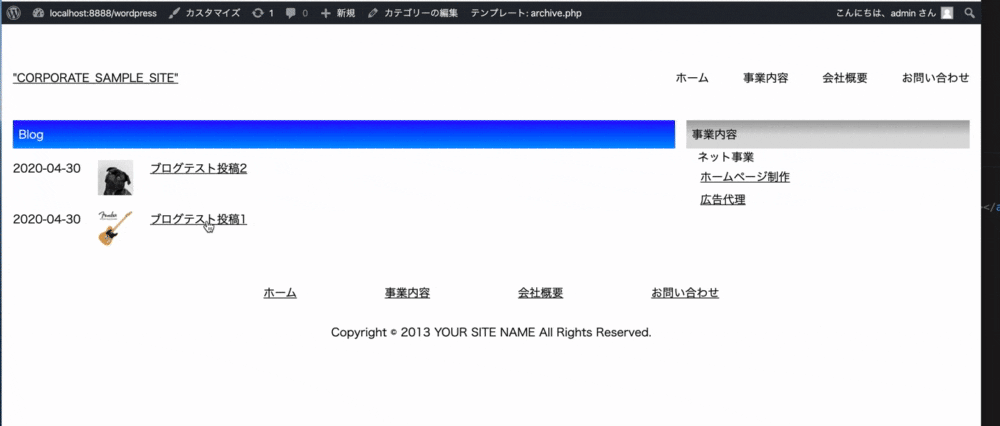
中身は表示できましたが日付が入っていないので追加します。
タイトルの下にタグを入れましょう。
single.php
<?phpget_header();?><divclass="wrapper"><divid="conL"> <!--loopstart--> <?phpif(have_posts()):while(have_posts()):the_post();?> <h2><?phpthe_title();?></h2> <p><?phpthe_time('Y/m/d');?></p> <!--loopcontent--> <?phpthe_content();?> <!--loopend--> <?phpendwhile;endif;?> <aclass="btn"href="<?phpechohome_url();?>/contact"><buttonclass="btn1">お問い合わせ</button></a></div><!--conLend--><?phpget_sidebar();?></div><!--wrapperend--><?phpget_footer();以上で投稿ページは完成です。
次はお問い合わせページを作成します。
MAMPを使ったWordpressでのWEB制作方法13 初心者向け